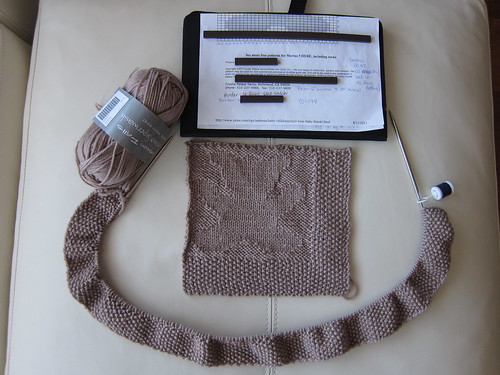
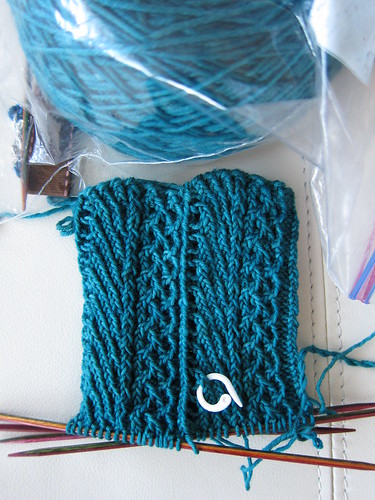
I got a message on Ravelry the other day from frequent blog reader MarDe1234 (Ravelry link) wondering just how I was able to adapt my blankets from dishcloths or change the suggested yarn weights in blankets and still come up with a good size. And so, inspired, I decided to let you glimpse into my muddled 'ole brain and see my process to making the blankets and projects you see on this blog.
The answers are all in the swatch. I know what a lot of you are thinking right now. "Oh boo.... a lecture on swatches...." and I know. I get you. It's a tedious task. Often we are INSPIRED! RIGHT! NOW! and don't want to take the time to plan the swatch. But people- swatching has saved me enormous heartache. While a swatch is simple... the process is not always that.
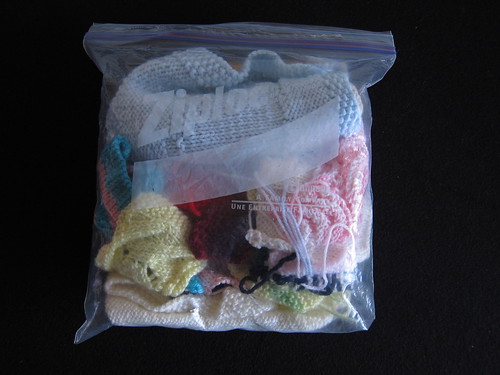
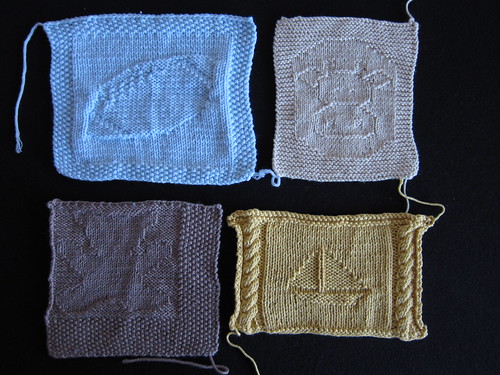
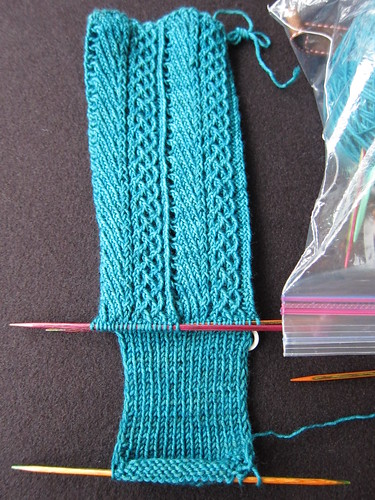
Firstly- I find it hilarious that although my swatch will turn into nothing useful once I have extracted measurements from it that I still keep most of them. Behold- the Ziploc bag of swatches!? (Do you think Ziploc has any idea just how much they mean to the knitting community!? I keep everything in Ziploc bags!!)
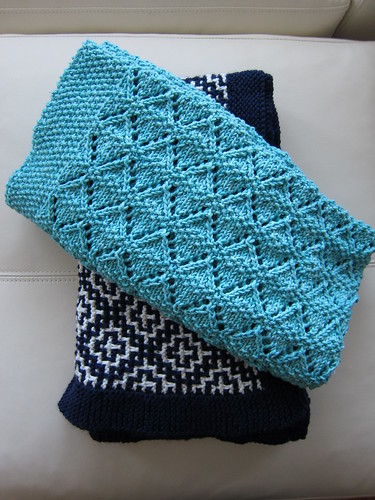
This here is a whole lotta swatches. I'm showing you this so you don't think that I'm just blowing smoke on this whole "you gotta swatch" thing. I swatch. A lot. (And apparently I don't throw the swatches out.) But I like to get a good idea about what things are going to look like. I break the swatching process down into 3 categories.
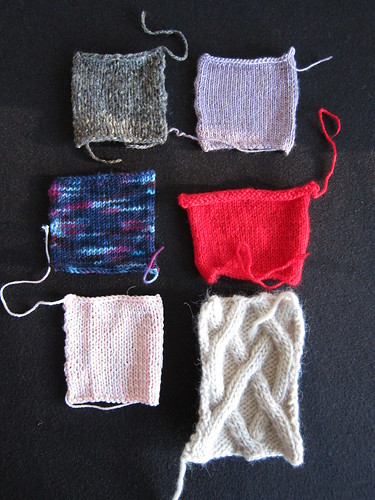
1) The "Traditional Swatch"
These are the swatches that you typically knit in stocking stitch that usually turn into 4" squares. These are necessary to make sure that you're knitting at the same tension with your yarn and needles that the designer intended. Often times you can predict how your project is going to turn out based on your gauge swatch. Sometimes the designer even asks you to swatch something other than stocking stitch but the traditional swatch is your lifeline to make sure your garmet is going to fit.
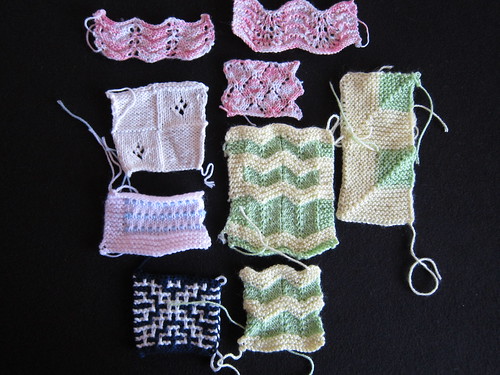
2) The "Play Swatch"
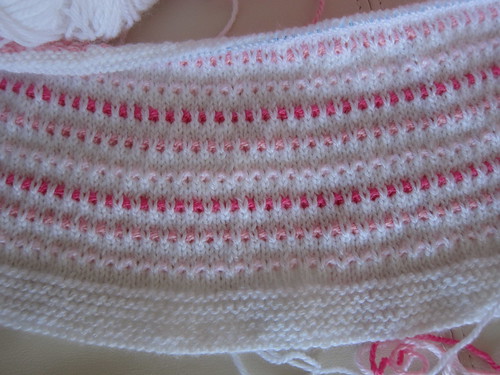
These are the swatches that I knit, still in small format, when I want to play around with a particular stitch pattern or am trying to get an idea about what I want to knit. I also use it to knit swatches of upcoming projects so that I can get an idea of how large a pattern repeat will be with similar yarn in order for me to cast on a project. This way I can get an idea of size based on an entirely different yarn than the pattern calls for. (Which I do a lot- I rarely use the recommended yarn size!)
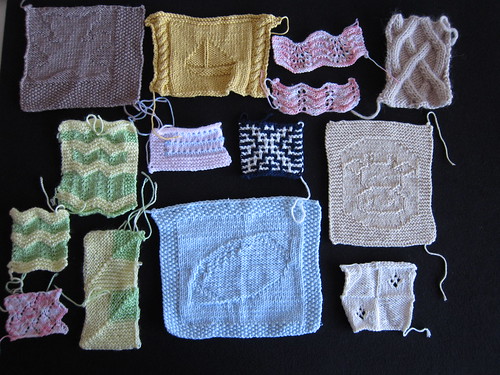
3) The "Big Swatch"
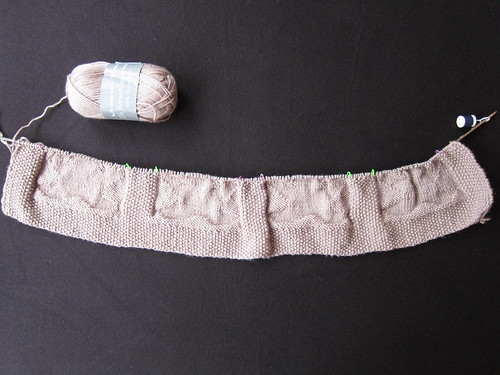
I usually reserve the bigger swatch for when I'm attempting a project out of dishcloth or something that requires me to get an idea of how big a particular section is going to knit up, in order to get a really good idea of how many repeats I need, how much yarn I'll need or any other detail. The bigger swatches really help me get a good idea of what I'm about to dive into and if the yarn I've chosen is conducive to that. Yeah- it's tedious to knit a big swatch sometimes, but in the long run it's usually the most effective way to get a clear picture if the dishcloth thing is going to work. (In the case of that boat swatch I decided I hated the yarn I had chosen for the pattern (it was a different color than the yellow) and opted to skip it.)
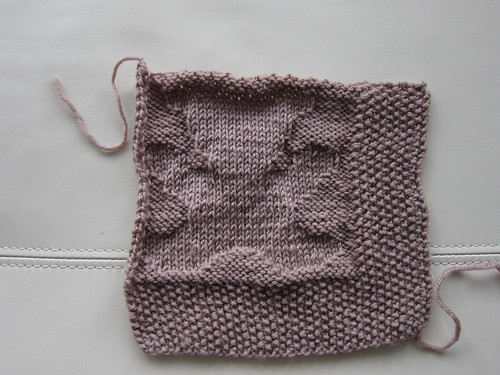
You'll notice on those swatches that I don't always do a full border... sometimes swatches don't need a full border, sometimes I'll do one sided borders only so that I get an idea how some of the border measures but I'm able to calculate from there. (No need to do unnecessary knitting!)
So that's my "swatch process"- and proof that I do tend to knit swatches! (Some people preach the importance of swatching but don't actually do it themselves. I've learned the hard way that the swatch is a critical piece of knitting!)
I'll be honest- talking about swatches was a great topic for today because it can detract from the fact that progress on my other projects is slow.
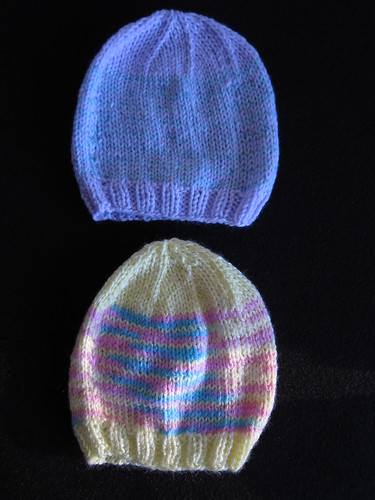
In fact, besides 2 hats
